QML 應用程序演示如何在 Qt 3D 中渲染場景。
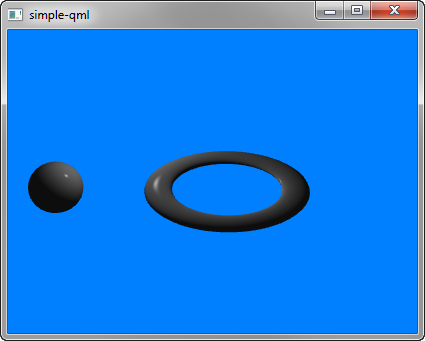
簡單 演示如何在 Qt 3D 渲染場景。
要運行範例從 Qt Creator ,打開 歡迎 模式,然後選擇範例從 範例 。更多信息,見 Qt Creator:教程:構建並運行 .
我們設置整個場景在 main.qml 文件。
To be able to use the types in the Q3D and Q3D Render modules, we must import the modules:
import Qt3D.Core 2.0
import Qt3D.Render 2.0
創建第 1 個實體 Camera , which represents the camera used for the final rendering, and a camera controller, which allows us to control this camera using the keyboard or the mouse:
Camera {
    id: camera
    projectionType: CameraLens.PerspectiveProjection
    fieldOfView: 45
    aspectRatio: 16/9
    nearPlane : 0.1
    farPlane : 1000.0
    position: Qt.vector3d( 0.0, 0.0, -40.0 )
    upVector: Qt.vector3d( 0.0, 1.0, 0.0 )
    viewCenter: Qt.vector3d( 0.0, 0.0, 0.0 )
}
A RenderSettings entity specifies a ForwardRenderer as the active framegraph:
components: [
    RenderSettings {
        activeFrameGraph: ForwardRenderer {
            clearColor: Qt.rgba(0, 0.5, 1, 1)
            camera: camera
            showDebugOverlay: true
        }
    },
    // Event Source will be set by the Qt3DQuickWindow
    InputSettings { }
]
The event source is set by the Qt3DQuickWindow:
InputSettings { }