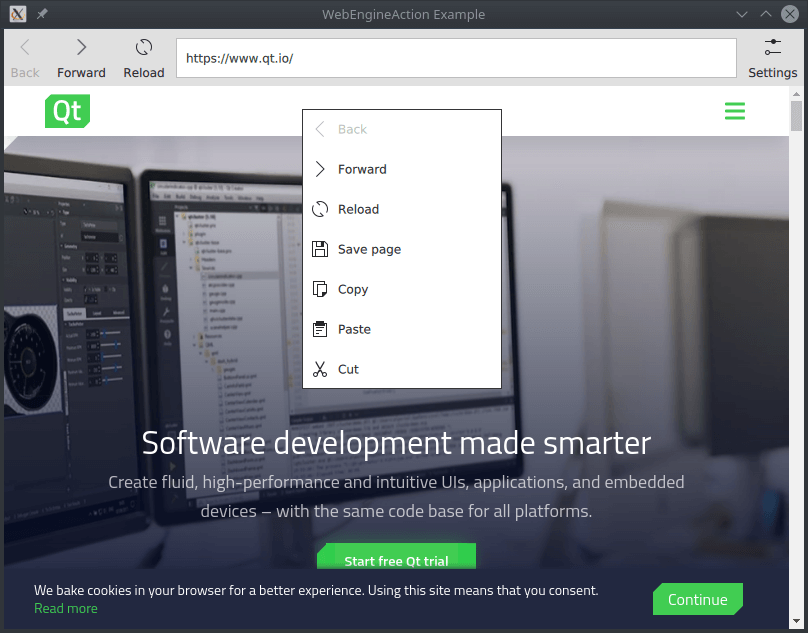
以 WebEngineActions 实现的简单浏览器。

WebEngine Action Example demonstrates how to perform actions on a web page using the WebEngineAction type. It shows the minimum amount of code needed to bind browser functionalities to input elements and build up a custom context menu.
要运行范例从 Qt Creator ,打开 欢迎 模式,然后选择范例从 范例 。更多信息,拜访 构建和运行范例 .
An intended use of WebEngineAction is building a connection between UI elements and browser commands. It can be added to menus and toolbars via assigning its properties to the corresponding ones of the element.
ToolButton relies on the properties provided by a WebEngineAction . Clicking the button triggers backwards navigation on the originating WebEngineView of the action.
            ToolButton {
                property int itemAction: WebEngineView.Back
                text: webEngineView.action(itemAction).text
                enabled: webEngineView.action(itemAction).enabled
                onClicked: webEngineView.action(itemAction).trigger()
                icon.name: webEngineView.action(itemAction).iconName
                display: AbstractButton.TextUnderIcon
            }
The simplest way to create custom context menus is enumerating the required WebEngineAction types in a data model and instantiating MenuItem types for them, for example using a Repeater .
        property Menu contextMenu: Menu {
            Repeater {
                model: [
                    WebEngineView.Back,
                    WebEngineView.Forward,
                    WebEngineView.Reload,
                    WebEngineView.SavePage,
                    WebEngineView.Copy,
                    WebEngineView.Paste,
                    WebEngineView.Cut
                ]
                MenuItem {
                    text: webEngineView.action(modelData).text
                    enabled: webEngineView.action(modelData).enabled
                    onClicked: webEngineView.action(modelData).trigger()
                    icon.name: webEngineView.action(modelData).iconName
                    display: MenuItem.TextBesideIcon
                }
            }
        }
Assigning a WebEngineAction to multiple UI elements will keep them in sync. As it can be seen in the picture above, if the browser engine disables a navigation action, both corresponding menu items will be disabled.